Showing posts with label ONE STAMP. Show all posts

Saturday, 13 June 2015

Christine's Project


Hello, Christine here, just popping by to show you the beginning of my project.

I started with stamping card and some Oak House Studio Ink in a bottle.
This piece was sprayed all over  lightly with the Citrus Yellow  and Citrus Orange then dried. Once it was dry a small area of Brazil Nut was sprayed in the centre and dried carefully from the back so as to avoid blowing it around.

The sunflower was stamped onto the card, aligning the flower centre with the brown splodge, using an OHS Chocolate ink pad and embossed with the clear embossing powder. The petals of the flower were washed with a wet brush to merge the colours a little and the leaves and stem had a wash of Citrus Green and Brazil Nut added to them. A little more brown was brushed onto the flower centre. The flower was then cut out.


I will show you what I did with this later today.
I hope you are crafting away too.

Christine. 

Saturday, 11 October 2014

One Stamp Twinchie Christmas


Hello everyone Sylvia here, hope you are all joining in with today's "One Stamp" event.  I have been playing around with both sizes of the very versatile Christmas Corner.   Here are a Christmas card and gift tag showing you how to incorporate twinchies into your creations.   Not sure what a twinchie is - well it is a 2 inch by 2 inch mini piece of artwork, colour, stamp, emboss,add glitter and embellishments, you can do whaterver you want with them.  If you pop over to my blog you can see a tutorial for making this card.

The fabulous Christmas Corner comes in two sizes Large and Small and for this Christmas card and tag I used the small Christmas Corner stamp, just the right size for twinchies. 

The twinchies were cut out using white hammer card (a 2" x 2" square) and the Christmas Corner stamped and embossed with Oak House Studio Seafoam White embossing powder.  I coloured the twinchies with a mix of  pigment inks in orchid and powder blue.  I tried out my new Inkilicious duster brushes dabbing the ink pads onto my craft mat and picking the ink up on the brush, it worked well and I was pleased with the finished effect.


Using a white linen card blank I matted and layered the twinchies onto white linen and sky blue card placing the stamped images to form a pattern.  Finally I stamped the Christmas Blessings sentiment, again using a mix of orchid and powder blue pigment ink to match the colour on the twinchies.  A spare twinchie was added to white card to make a matching tag. 


Don't forget, come and join us throughout the day, we would love to see your creations. Pop back regularly for more inspiration from the design team.

Sylv xx

One Stamp - MDF Hanger


Products Used:

This project was really fun to make and came out a lot better than expected!

Here's a 10 step guide of how I did it:
1. Paint a base layer of white acrylic paint on the MDF shape
2. Draw around the shape onto stamping card and cut out, so that you have a card heart
3. Stamp the Christmas Corner unmounted stamp around the edges using Forest Green Pigment Ink
4. Colour the flowers and holly in red. I used a marker but you could easily use some Acrylic Ink.
5. Using brushes lightly take the edge off the white background using Yummy Chocolate Pigment Ink
6. Gold emboss (you could use some of the Gold Embossing Powder) the Christmas Blessings and some of the Holly from the Christmas Wreath Stamp set
7. Using a strong glue attach the stamping card you have just used to the MDF shape.
8. Go over the top of the shape with some gloss to give a protective covering
9. Go around the edges of the shape with some building wax (I used one that is gold with a tinge of green)
10. Punch a hole in the top and attach some ribbon.

And then you're done! Your own handmade christmas decorations. Mini versions could look lovely on your tree or this one is the right size to go on your wall!

I hope you enjoy the rest of the One Stamp event, and look forward to seeing what you make too.

Regards,

Andy

One Stamp Christmas Corner Card Holder and Fridge Magnet


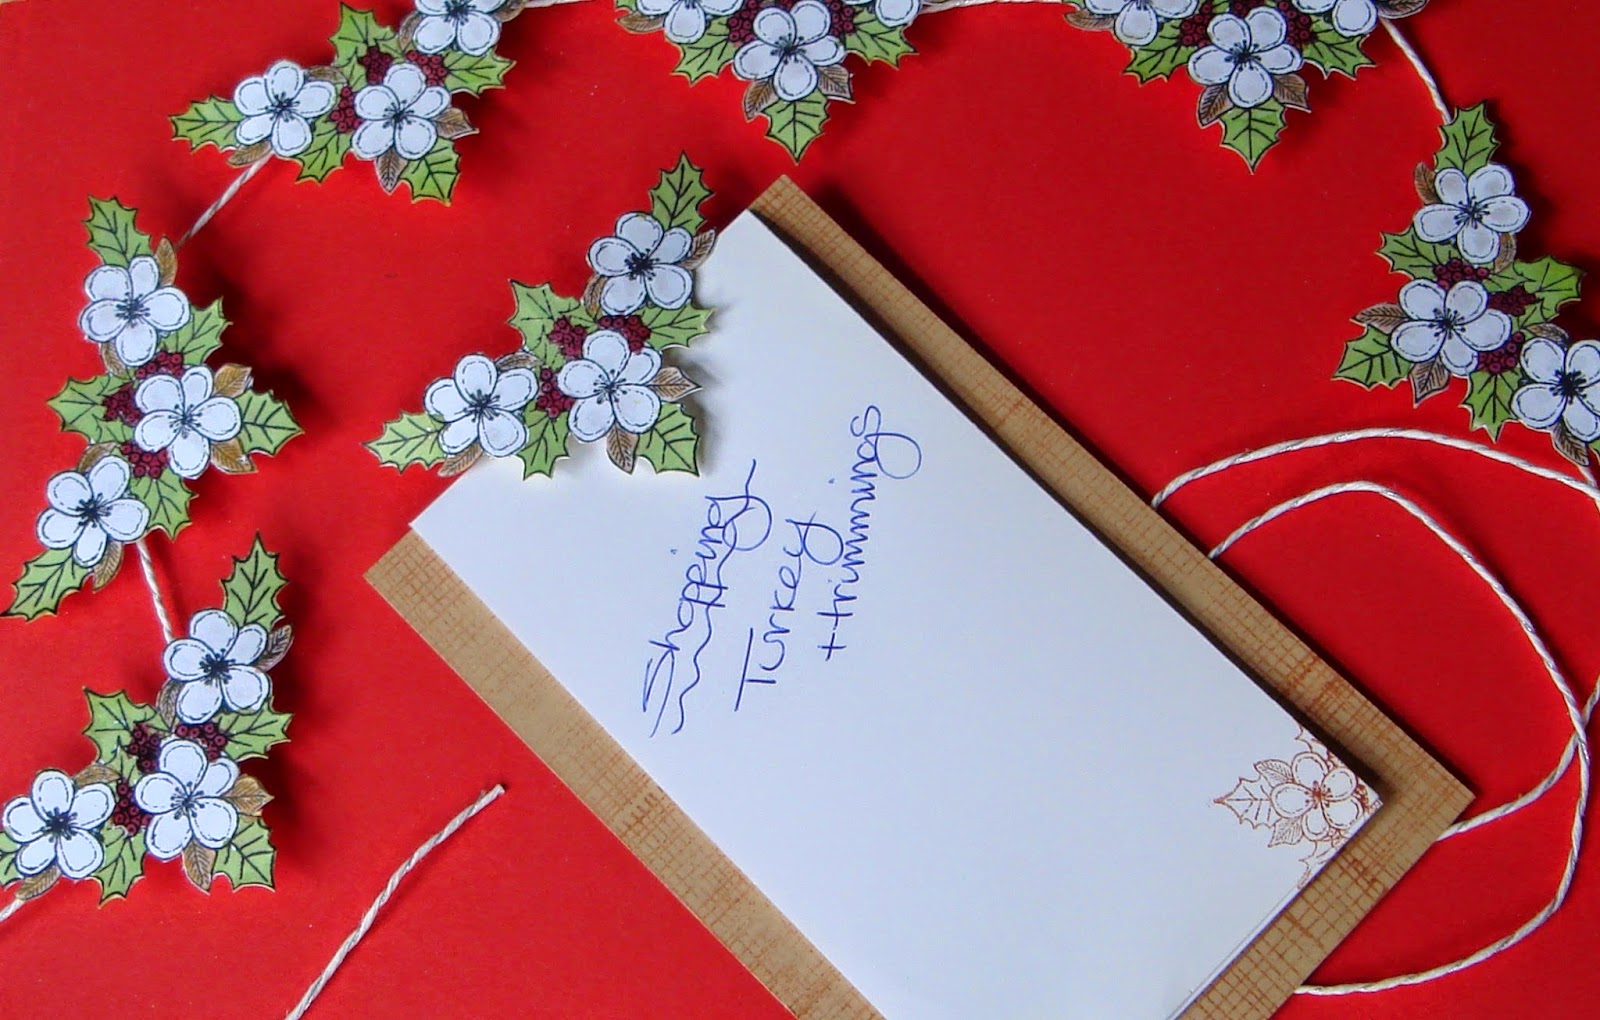
Good morning all, Sylvia here with another One Stamp project.  Christmas is just around the corner and I always find I am short of space to display Christmas cards received, so here is a Christmas card holder which can be hung on a wall or a door for those extra cards you have no shelf space for.

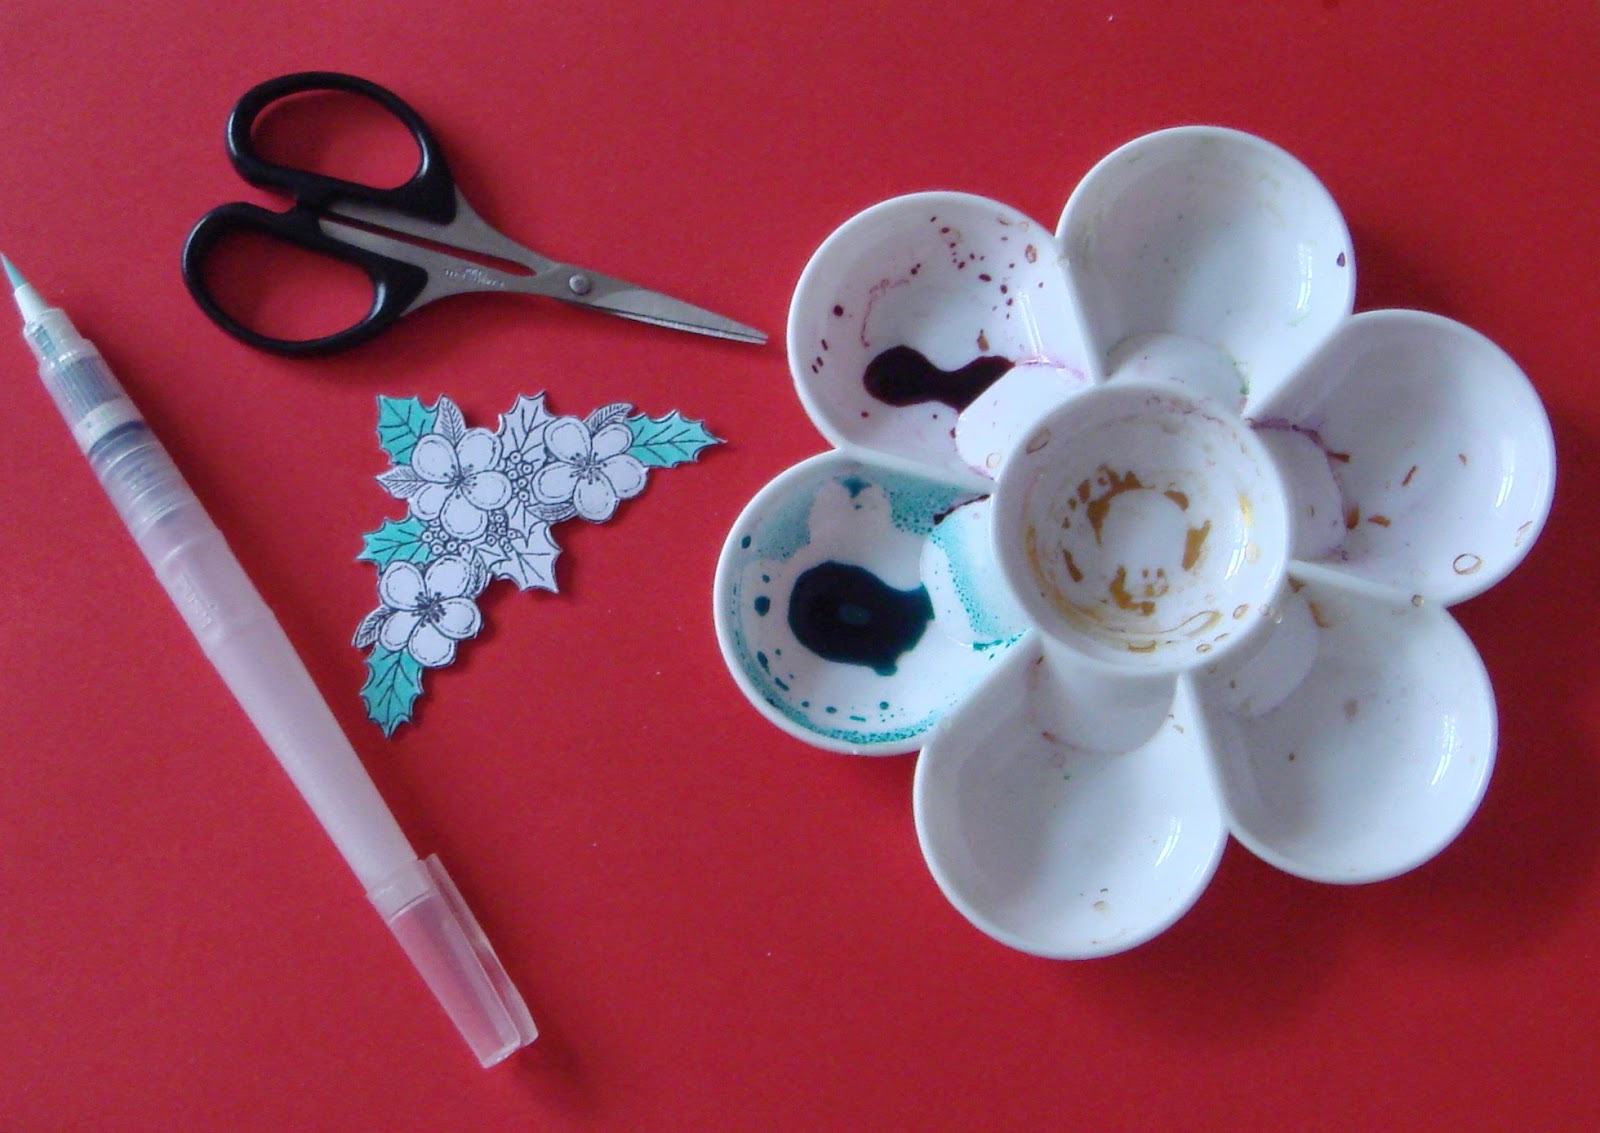
The large Christmas Corner was coloured with bottled inks using a watercolour brush, glossy accents added to the berries and fussy each fussy cut and added to a mini clothes peg.  Any size pegs will do for this project, the bigger the peg the stronger it will be, I used the small pegs so they did not show and I will only be displaying thin cards.

Here are a few photographs showing how I put my card holder together.

 Stamp your chosen design onto smooth white card and cut out the stamped image

 Colour your cut out design with inks, or your chosen medium, add glossy accents, beads or glitter to highlight areas of interest

Stick the pegs to the back of your coloured design with a strong glue and leave to dry

Thread string or ribbon through the spring on the peg, or simply fasten the clip and card to the string or ribbon to display

By adding a magnet to the peg you can create a fridge magnet to add to a card as a gift, or to use yourself for those Christmas reminder notes.

Keep popping in to see what the other design team members have been creating with the Christmas Corner, and don't forget to let us see what you have been making too.

Sylv xx

Sunday, 7 April 2013

Arrangements for 24 hours One Stamp weekend

Here is an outline of what is happening over the weekend. I am no spring chicken so I break the 24 hours down into two lots of 12 hours so 8am to 8pm both Saturday and Sunday. For these 12 hours each day I will be at the studio working on projects with the featured stamp. I will be stopping to eat and drink and visit the loo etc.
If you can get to the studio, you are welcome to come along between 10am and 4pm on either day. You should be aware that I will be in full crafting mode, you are welcome to join in, make a brew or just cheer from a safe distance, there will be lots to do and all help and best wishes are most welcome.
For those of you a bit further away, I will be posting what I can via facebook and the design team will be posting through out the weekend, plus we have some extra guest bloggers. I really hope you can all find a way to join in the fun and I hope that everyone gets some inspiration from this project.
Here is one project I did with the stamp last week (yes 24 hours is really long enough) I have taken some very basic (cheap) A4 file dividers shown them some Colour Chemistry ink in a bottle and then stamped on them in wine pigment ink. The original colours give the variation along with using various ink colours that have a red base.


Tuesday, 2 April 2013

A little bit of preparation for the ONE STAMP project.


Here is a little teaser video to get you thinking about One Stamp Project. This event takes place on 13th & 14th April 2013. Join us at the studio or on line. Twenty four hours of crafty stamping featuring one stamp. Please make a date to come and watch what we get up to.

Friday, 8 June 2012

Nearly There

Yesterday I went out to buy "Supplies" for the weekend, not food that is on today's to do list. I went out to buy odd bits I needed to get on with project a bit further out of my comfort zone. I had a list and only managed to get ONE thing off my list so some projects may not get completed this weekend, which just makes me cross I hadn't sourced things earlier but to be honest I was confident I could just go pick these things up and didn't realise how hard it might be. The good news is I did find others things that I want to work with, so I am sure I have more project than I can possibly finish in 24 hours. Today my list has important but not crafty jobs, like food shopping and getting my hair cut!
Anyway as I dropped off my acquisitions at the studio yesterday I suddenly realised that one of my signs was already a great example of using the clematis tower stamp off the page. This is an old roof slate salvaged whilst stay at a friends house, the words have been added by hand with a white paint marker, probably a Pilot one and 3 decoupaged Clematis flowers added with some silicon glue...pretty simple really!
If you would like to call in this weekend to see what I am up  to and offer your support then email lynndaw@gmail.com I am there 8am to 8pm Saturday and Sunday.
http://www.oakhousestudio.com/page_2658878.html