Showing posts with label colour chemistry. pigment inks. Show all posts

Friday, 8 July 2016

Step by Step Project from Nick Roberts

EDITED: Ekk life has been a bit manic recently and I posted Nick's post this morning and forgot to explain about this month's TAKE 5  challenge.... This months topic is Rainbows.... as many bright colours as you like. Show me some colour! Post your Challenge entry on your blog or your Facebook page. Just make sure you tell us it is there. Now back to Nick...

Morning. I am very excited to share this post with you today, after being invited by the Lovely Lynnda of Oak House Studios to be a guest designer. The theme is 'Rainbow' which gave me the scope to create something very different, I chose to design a wall hanging. I used a selection of the wonderful Colour Chemistry Ink's. They are such rich pigments and the colours are so vibrant, they are great fun to use either in their concentrated form or diluted to give the shade required.


The base for this project was a piece of reclaimed timber, which I sanded before painting with Slate Grey Cosmic Shimmer Chalk paint.

On a piece of Super Smooth Card I stamped the lovely background stamp and a wonderful sentiment from Oak House Studio, using the Navy Blue, Colour Chemistry pigment pad. I love the sentiment, it's so nice to have the mixture of fonts making it more interesting and adds to the feel of the project. I used versamark and Silver Embossing powder to add the Dog Rose to the background.
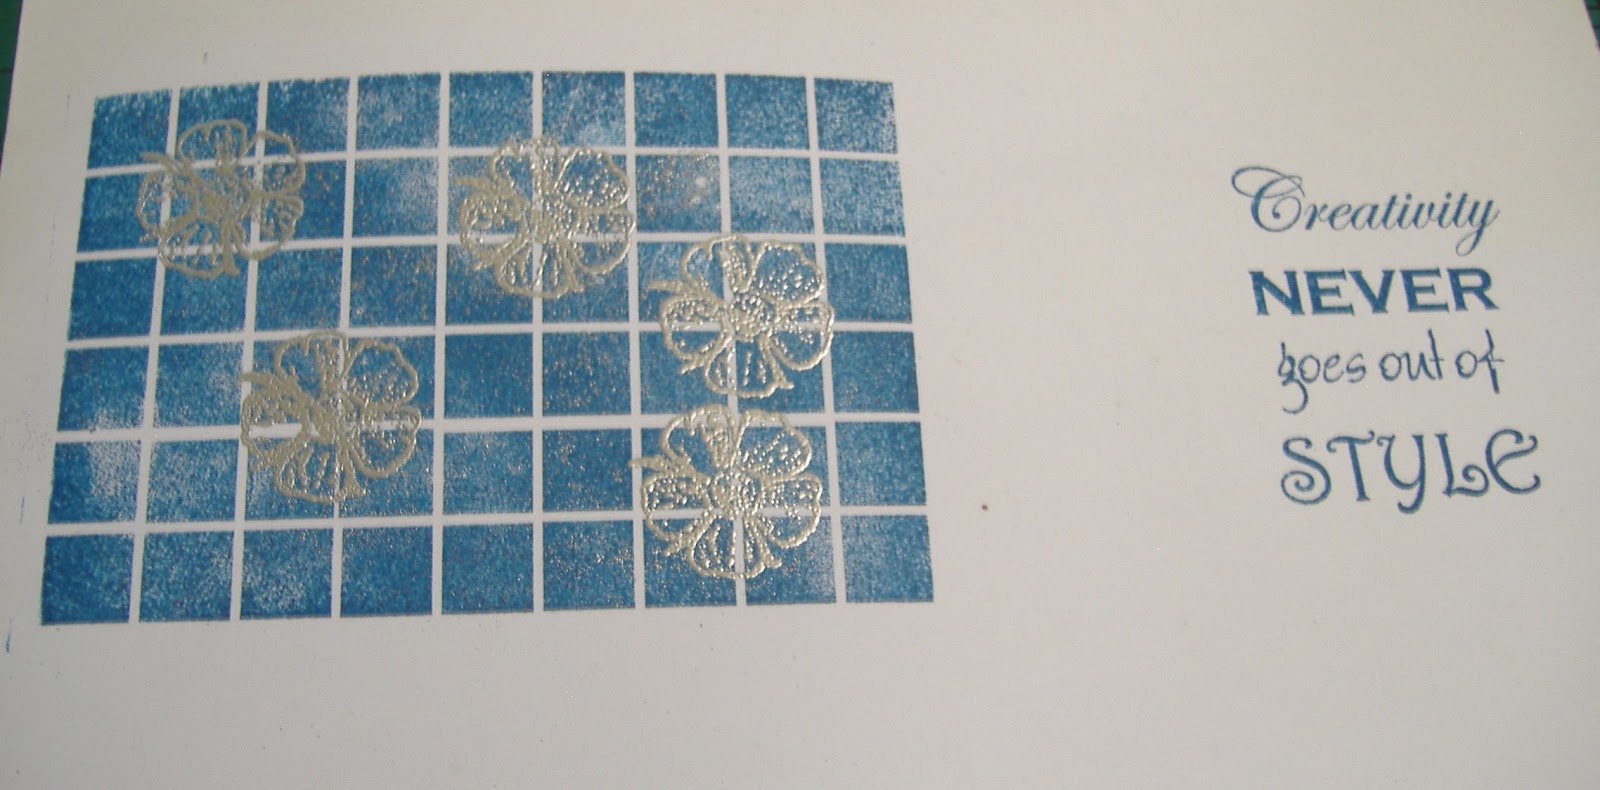

I then positioned the background and sentiment onto my base, then created a frame made from branches that I cut to size to surround the image. I secured these using 3D glue gel.

Next I cut some lengths of Hemp and dipped them into the bottles of Pure Colour Chemistry Inks, for this project I used Bottled Sunshine, Pumpkin, French Lavender and Totally Turquoise. I was over the moon with the strength and depth of colour, which wasn't lost at all once they had dried.


I took a piece of gauze and moped up all the left over ink from my glass mat and left to dry. I also made some simple round flowers using the Hemp that I had coloured and glued them in position using Cosmic Shimmer glue.

I mixed up some Bottled Sunshine Colour Chemistry ink with Gesso and flicked over the wood to create some added interest and then repeated with some plain white gesso.

I threaded some matching beads onto wire and then assembled the piece. Finally I distressed around the edges of the project with sand paper to bring the elements together.

I hope you have enjoyed the step by step I have shared today. I love this piece with the vibrant rainbow colours, a little bit of a different way to use the lovely stamps and inks.
Thank you ever so much to Lynnda for inviting me to take part in this. I have thoroughly enjoyed using the stamps and the Colour Chemistry Inks are just a pleasure to use, giving such a wide range of results. A must ave crafting essential. I have loved mixing my own colours in the spritzer bottles and have had hours of fun creating different backgrounds.

Tuesday, 27 October 2015

One stamp, three different cards...

These cards were all made using the double rose.....another favourite of mine.
This stamp has both the inside image of the rose head and the outside image of the rose. This gives you a positive & negative effect when you stamp it.


Today my plan is creating some background papers with all my inks..... love being able to spritz and create my own background.
Whatever you are doing, have fun!

Happy crafting
Nikki x

Thursday, 12 February 2015

Journal Circles Stamp Sets and Colour Chemistry Pigment Inks.


Hello Everyone. 
I'm Eileen Godwin. I'm delighted to tell you that I've been invited by Lynnda, to be a Guest Blogger on the Oak House Studio Blog, during February. Today I'm sharing two cards with you, using the Colour Chemistry Pigment Ink Pads and both sets of the Journal Stamps, along with the Firework Set. All available from the Oak House Studio On-line  Shop


I love circles, always have done since I started crafting and these stamps are 'right up my street'. I also adore very rich, bright colours and you certainly get them when you invest in these Pigment Inks Pads from Oak House Studio.  
This is card number two using all the Same products.


Two very quick but colourful cards that are easy to do ... Go on, have a go. 
Thanks for looking today.  I'll be back again on Sunday with some more Cards I've made, but using Colour Chemistry Spray Inks. Be good to see you pop over here  again.
Thanks for asking me Lynnda . The stamps and ink pads are brilliant! 
 Eileen x

Friday, 14 November 2014

In the Bleak Midwinter

This week I wanted to create a nice small card that used a variety of techniques. This is sticking with my blue Christmas theme. To be honest, I had no plan when I started doing it, it just kind of happened. I hardly ever plan my cards and just go with the flow and 9 times out of 10 it comes out OK!

Products used:
- Tree Beech unmounted stamp
- Christmas Blessings
- Ink in a Bottle - French Mint and Blue Jeans
- Ink in a Bottle: The Metallics Collection - Pearly Silver
- Colour Chemistry Pigment Ink - Midnight

 Procedure:

  1. Get a piece of stamping card and spray all over using a combination of the Ink in a Bottles, including using the metallic ones. Using the metallic gives the image a wonderful pearlescence and sheen making the image appear magical.
  2. Dry either by letting it dry naturally or, if you're not patient, use a heat gun
  3. Stamp the trees out using the pigment ink and create grass using the side of the tree stamp
  4. Take a circle of paper and mask a bit of the sky. Using a brush or sponge go off the edges of the circle. Lift it and you are left with a mystical moon!
  5. Cut out a small area and matt it onto white card.
  6. Stamp the sentiment and add some pearls.
  7. Matt this onto blue card and then your cardstock.
Done!


I hope you get some inspiration from this post and will just have a play with no plans. Let me know how it goes!

Happy crafting.

Tuesday, 11 November 2014

Winter at Oak House Studios

Hi it's Clare here with a little winters inspiration for you. What better time of year to crack open the crafting goodies and create something seasonal for this months Oak House Studios winter themed challenge. Don't forget you could be in with a chance of a prize so get your stamps and inks out to get lucky!


For this card I used:
Big christmas collection stamps
Spring green ink pad
Forest green ink pad
Colour chemistry french wine ink in a bottle
Colour chemistry french mint ink in a bottle
Colour chemistry Paris pink ink in a bottle
Gold detail embossing powder
Deck  the halls stamp set 'Tis the season'


To make this card I first stamped the branch in spring green pigment ink pad to form my christmas tree. Over the top of this I re-stamped using the forest green pigment ink pad. Using three of the christmas baubles I stamped an heat embossed with gold Oak House Studio embossing powder and painted them using the French mint, French wine and Paris pink ink in a bottle. After that I stamped the sentiment and heat embossed with gold detail embossing powder. Finally I tied some string onto my baubles and added them to the card with a glaze of glossy accents from my stash.


Thank you for taking the time to read my post. I look forward to seeing what everyone will be creating during the coming month.

Happy crafting,
Clare x x x x

Friday, 7 November 2014

Oak House Studio November Challenge - " Winter "

Stamped Winter Scene


To make this card the list of ' ingredients ' is a short one they include ;

Archival Colbalt Blue ink pad
White fluffy stuff or a white fine line paint pen.
and 
1 each of the Colour Chemistry ink pads in Powder Blue and Slate
other items include a piece of contrast card, copy paper, a make up sponge and a wet wipe.


Take the White card, tree stamp and Colbalt blue ink pad, stamp first tree straight from the ink pad, ink up the stamp again stamp onto a piece of scrap paper then place the stamp slightly back and up and to the right of the first tree using the second generation of ink. Repeat this again in the centre and then to the forefront of the card taking the second generation off the page for the last image.

Tear your copy paper to make hills and then using the make up sponge or if you don't have a make up sponge use something similar to make a rounded shape in between your fingers and thumb. Place your torn paper with just the base of the tree showing and using your powder blue dab ink along the edge and pulling the ink toward the base of the card to give a grounding for the tree and a hilly terrain. repeat in the same way for all the trees, then add some hills to the back of the trees and some little hillocks to the fore just for good effect. 

Next step is the sky, take your wet wipe and scrunch it up to make a pad between your thumb and 2 fore fingers then dab onto your powder blue and loose some of the ink on your piece of scrap paper you don't want to much colour. Dab this lightly and randomly in the sky area down to the horizon twisting and turning your hand whilst doing so, when you feel it is enough use the same piece of wipe and go straight into the slate ink pad again loosing some of the colour on the piece of scrap, go over the blue to give a really moody feel to the sky. ( Try not to press to hard as this will make your card ripple with the moisture from the wipe.) 

The next step is to add the fluffy stuff randomly into the sky to give the snowy effect and to also give the illusion of snow on the ground you will just need to follow the terrain here and there too but don't squeeze the bottle to hard as this expands when it is heated, to get an idea of how much try a little on your piece of scrap first. Heat until it fluffs up nicely and then put to one side. If you don't want such an obvious display of snow and prefer a more subtle approach then use a white fine line paint pen.

 I used an A5 card for mine and trimmed a contrast colour or a piece of black card to make a matt then trimmed the artwork down to fit with a border showing. 

I used this technique at my first workshop and the results speak for themselves:


By Elizabeth


By Ron


By Christine


By Denise


By Johanna

Not at all different from the original really are they ? Considering 3 of them had never stamped before this workshop I think they did very well. 


Thank you for looking and if you leave a comment I will definitely pass it on to all concerned xx


Sunday, 2 November 2014

October Challenge in the INKspired by Oak House Studio Facebook group

We had some lovely entries into this months challenge and I wanted to share some of them with you on the blog. 
The Challenge for November is "Winter" . Come and post your entry on the Facebook group INKSPIRED by Oak House Studio


Saturday, 11 October 2014

One Stamp - MDF Hanger


Products Used:

This project was really fun to make and came out a lot better than expected!

Here's a 10 step guide of how I did it:
1. Paint a base layer of white acrylic paint on the MDF shape
2. Draw around the shape onto stamping card and cut out, so that you have a card heart
3. Stamp the Christmas Corner unmounted stamp around the edges using Forest Green Pigment Ink
4. Colour the flowers and holly in red. I used a marker but you could easily use some Acrylic Ink.
5. Using brushes lightly take the edge off the white background using Yummy Chocolate Pigment Ink
6. Gold emboss (you could use some of the Gold Embossing Powder) the Christmas Blessings and some of the Holly from the Christmas Wreath Stamp set
7. Using a strong glue attach the stamping card you have just used to the MDF shape.
8. Go over the top of the shape with some gloss to give a protective covering
9. Go around the edges of the shape with some building wax (I used one that is gold with a tinge of green)
10. Punch a hole in the top and attach some ribbon.

And then you're done! Your own handmade christmas decorations. Mini versions could look lovely on your tree or this one is the right size to go on your wall!

I hope you enjoy the rest of the One Stamp event, and look forward to seeing what you make too.

Regards,

Andy

Thursday, 26 January 2012

ENJOY what you DO

I needed a few get well cards or cards to encourage friends who were facing a difficult time. This made me decide to dig out the inspirational word stamps to make some thing I could mail out to them. This was the spring board for my classes.

This weeks stamping classes have been exploring using the Oak House Studio pigment inks on Linen card.
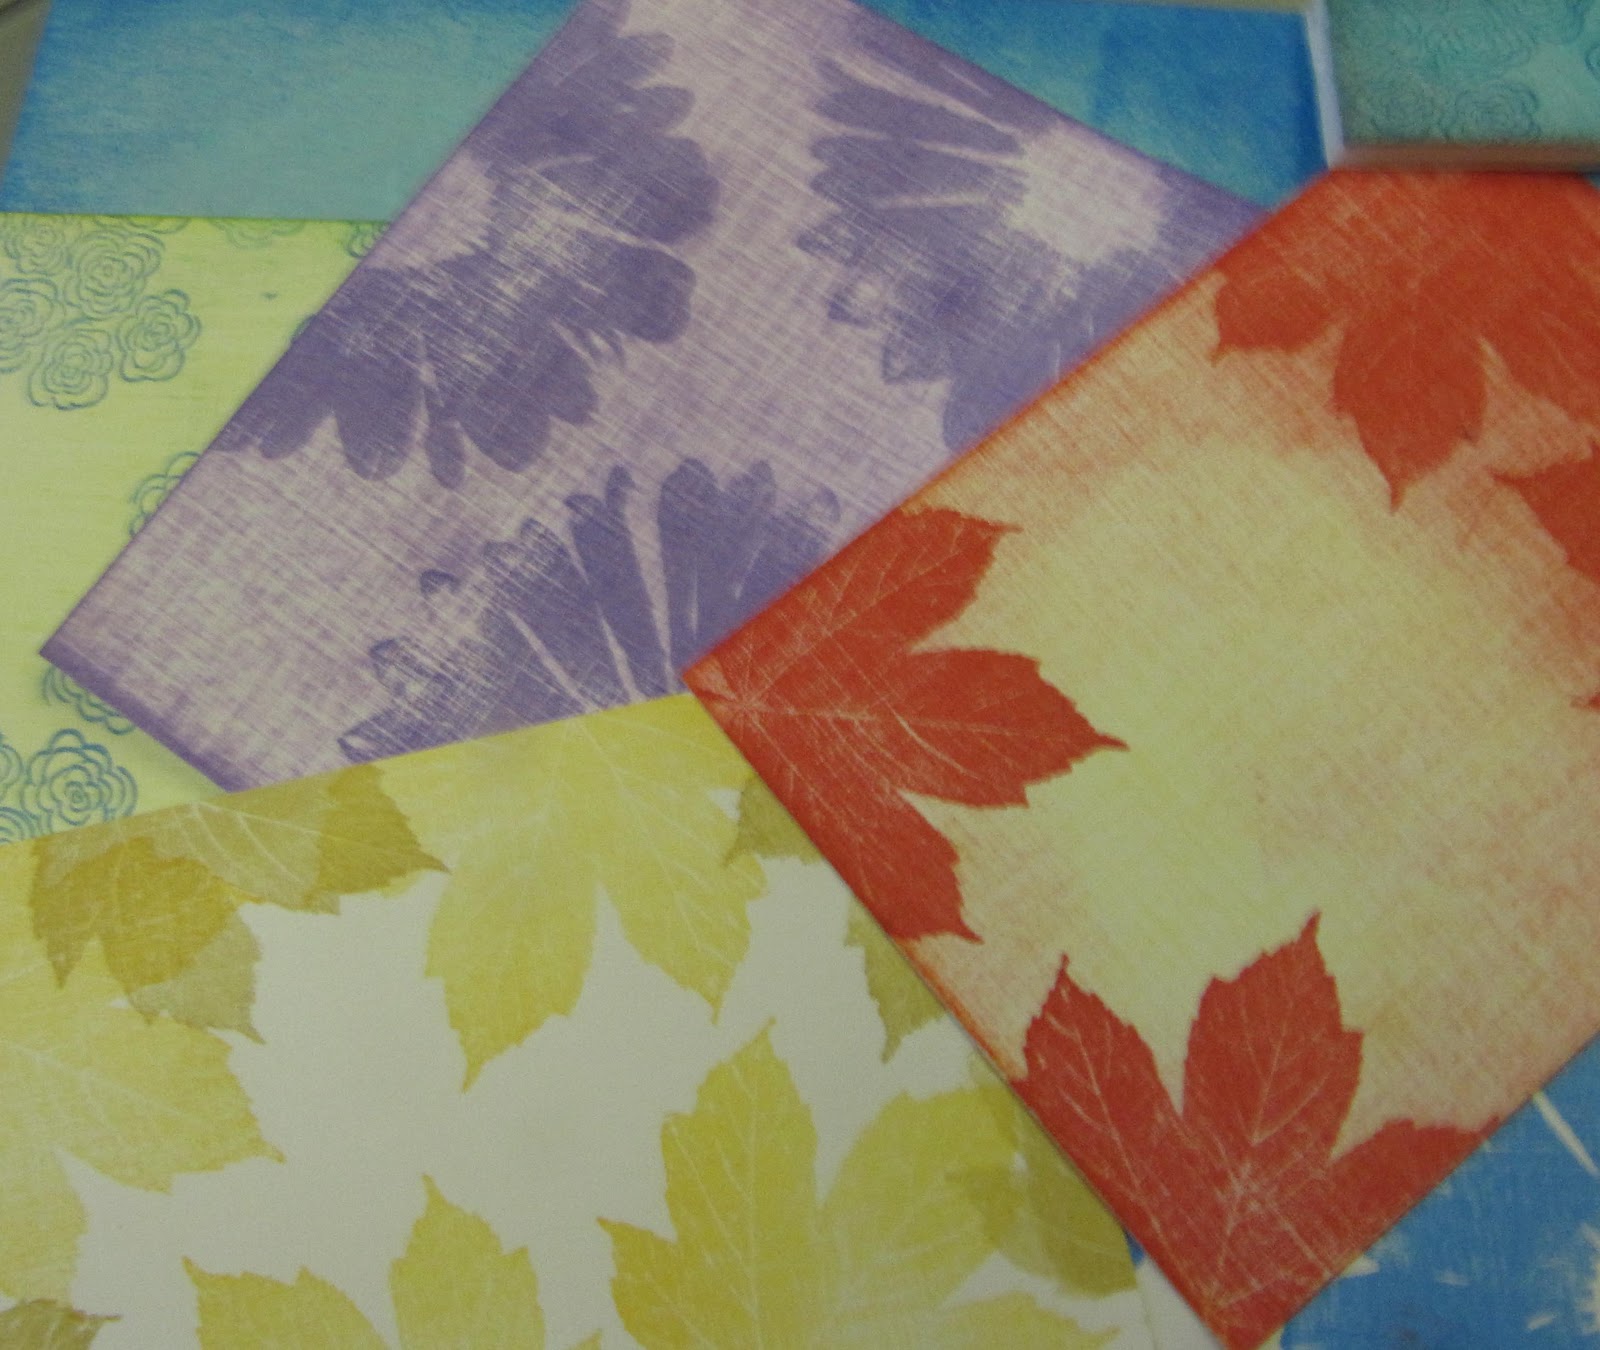
We started by colouring the linen card with the pigment ink and then over stamped with a  selection of our palette and texture stamps. The texture of the card really stood out with ink.

We then used some inspiring sentiment stamps including the new Enjoy stamp to create cards or postcard sized affirmations to frame.

Both classes seemed to enjoy the workshop and we hope to extend the technique at next weeks classes.

If you would like to join me for a workshop check out www.vip-stamping.co.uk or email me at lynnda@oakhousestudio.co.uk

The Enjoy stamp will be available from Sunday when we will be at the Ross Papercraft Show at Leeds Grammar School

Farm Watch : The older bull some of us call Simon was really enjoying a good scratch again a tree yesterday. He was really enjoying it a few us stopped to watch this might beast enjoying the simple pleasures of a good scratch in the sunshine. Much to everyone amazement the tree fell over and lay there roots and all. The old bull looked puzzled and wander away look at the fallen tree very sheepishly trying to look as innocent as possible.